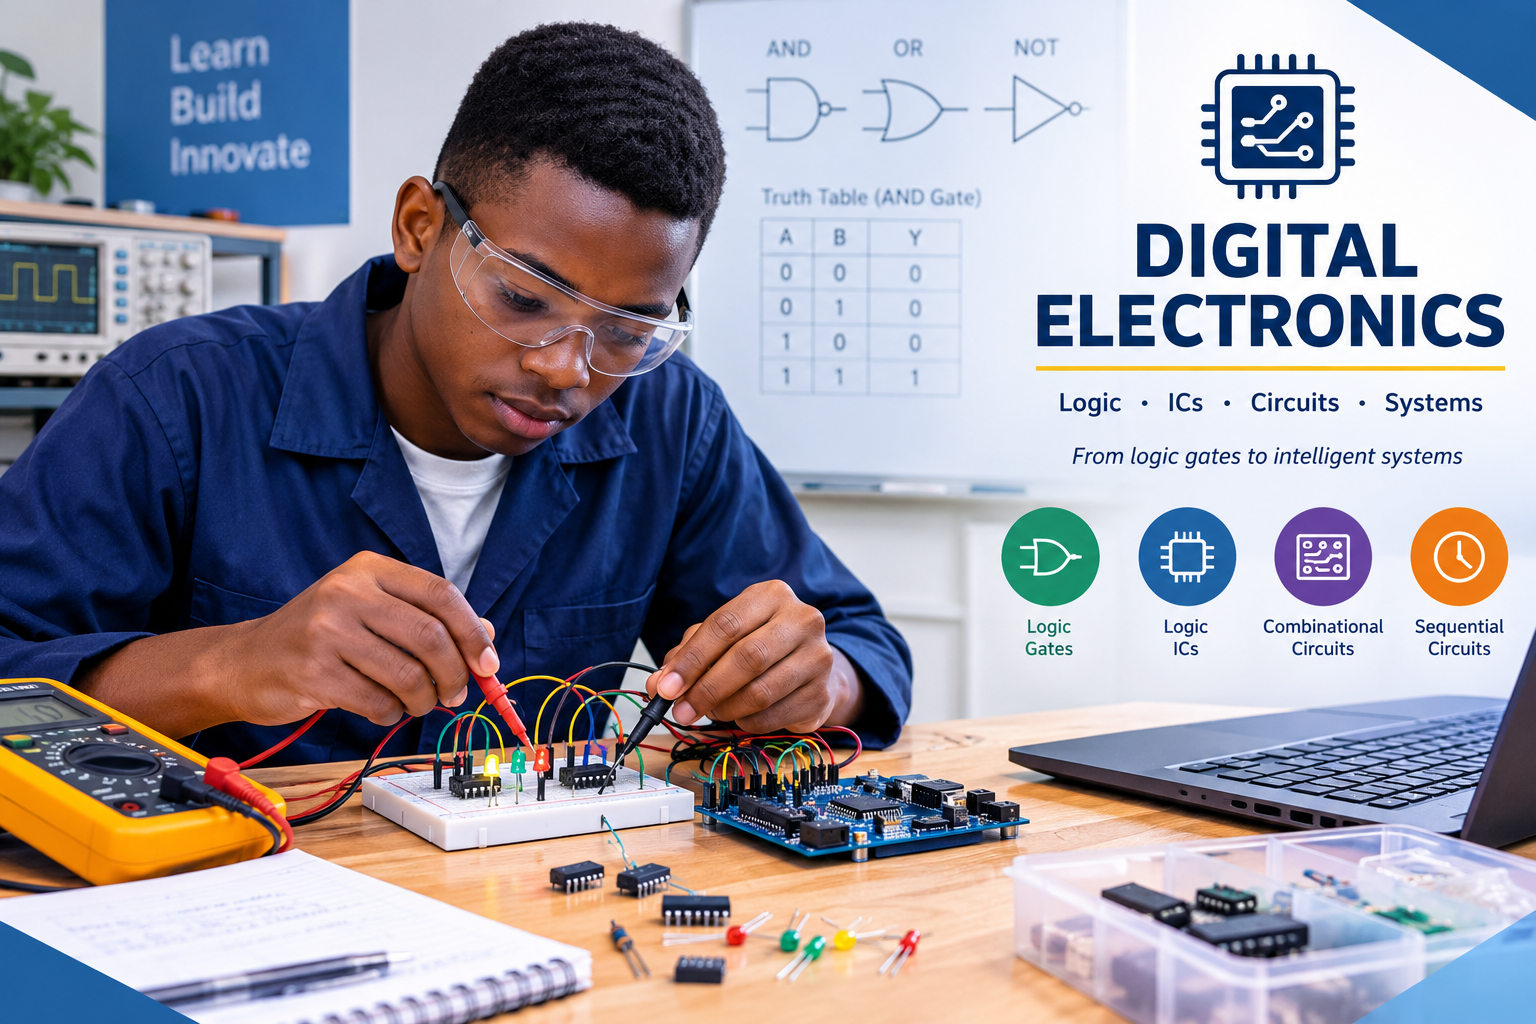
Welcome to Digital Electronics!
Have you ever wondered how a computer makes decisions, how a calculator performs calculations, or how electronic devices process digital information? This module helps you explore the digital circuits and logic systems behind these technologies through theory, circuit design, practical exercises, and troubleshooting.
Explore Your Learning Journey
Discover the four major learning areas in this module.
Apply Digital Logic
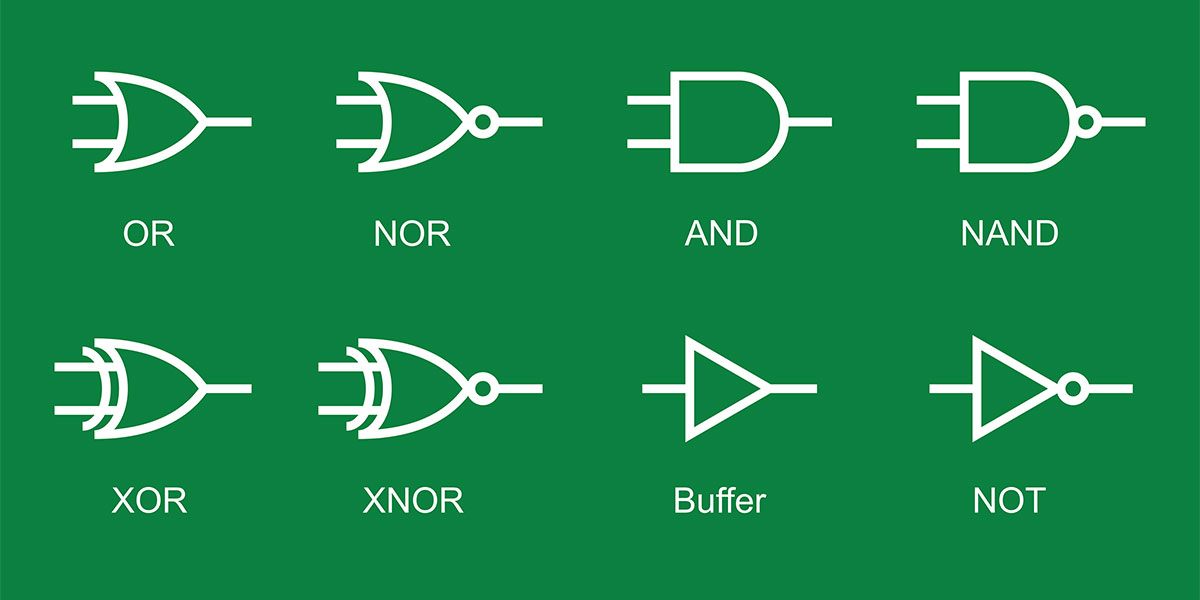
Explore binary, decimal, octal and hexadecimal number systems, digital codes, logic gates, truth tables and Boolean algebra.
Apply Logic ICs
Identify integrated circuits and investigate logic families, including CMOS, TTL and ECL, and their use in electronic circuits.
Combinational Circuits
Design and investigate adders, subtractors, multiplexers, demultiplexers, encoders, decoders and binary comparators.
Sequential Circuits
Understand latches, flip-flops, counters, registers, microprocessors and arithmetic logic units (ALUs).
How You Will Learn
Learning combines theory with practical work, helping you connect electronic concepts to real computer systems and digital devices.
Ready to Think Like an Electronics Engineer?
A digital circuit receives two inputs. Its output becomes HIGH only when both inputs are HIGH. Which logic gate does it represent?
Reveal the answer and explanation
Correct answer: AND gate
An AND gate produces HIGH (1) only when both inputs are HIGH (1). For inputs A and B, the Boolean expression is Y = A · B.
Your Digital Electronics Journey Starts Here
Be curious, practise consistently, experiment safely and challenge yourself to understand how digital systems work.
```
- Teacher: Leonard Tuyisingize
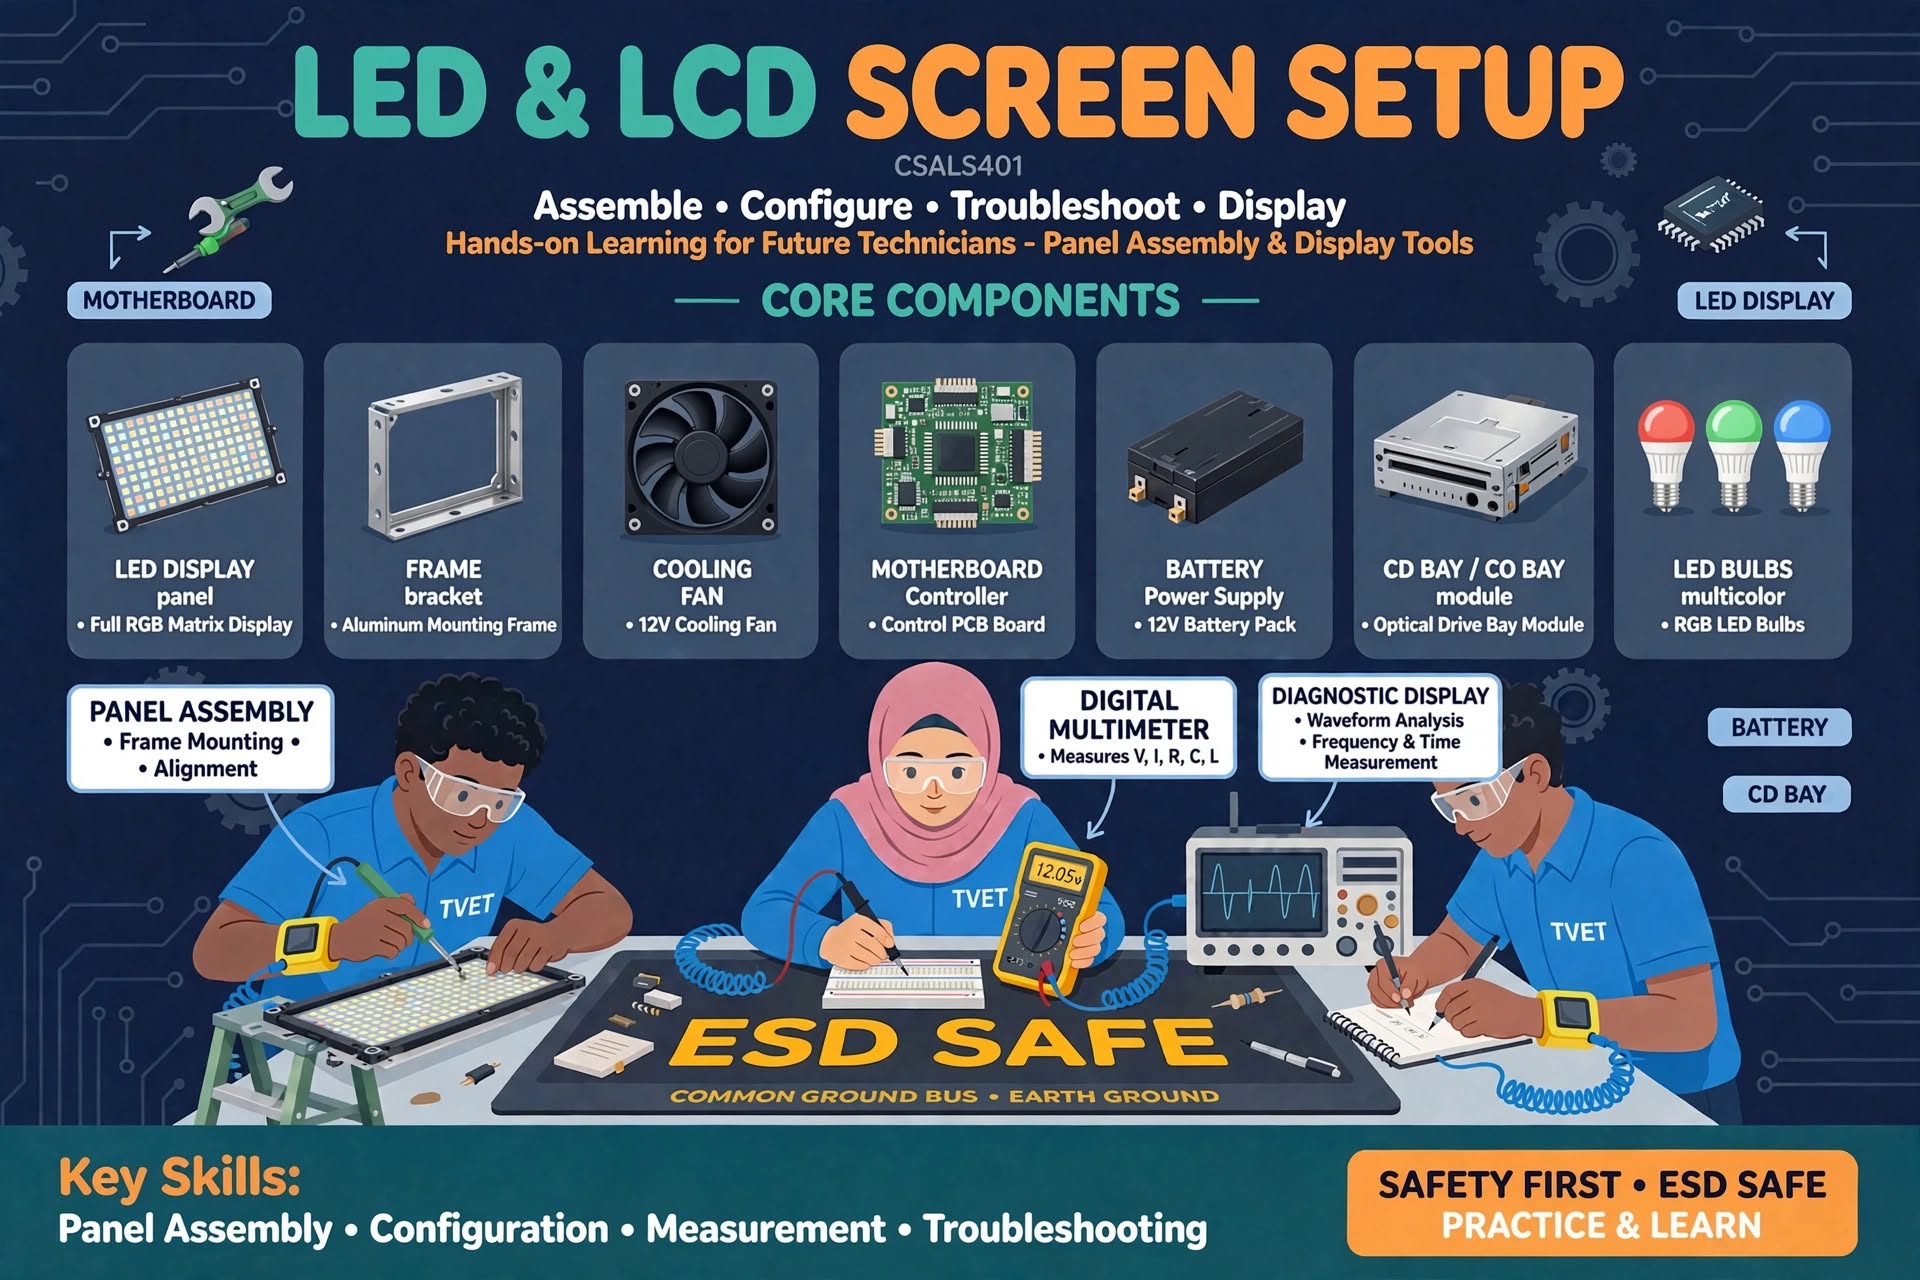
🖥️ LED AND LCD SCREEN SETUP
Welcome to the LED and LCD Screen Setup module!
This module describes the knowledge, practical skills, and professional attitudes required to set up LED and LCD screens. It is intended for students pursuing TVET Level 4 in Computer System and Architecture (CSA).
Throughout this module, you will engage in interactive lessons, practical demonstrations, hands-on activities, and troubleshooting exercises to develop your technical competence.
By the end of this module, you will be able to:
-
Assemble LED/LCD Screens: Identify components, connect cables, and assemble screens correctly and safely.
-
Configure Display Settings: Adjust screen resolution, brightness, orientation, refresh rate, and other display settings according to user requirements.
-
Troubleshoot LED/LCD Screen Setup: Identify common display problems, diagnose their causes, and apply appropriate solutions.
🚀 Ready to get started? Explore the learning activities, practice your skills, complete interactive quizzes, and challenge yourself to set up and troubleshoot LED and LCD screens effectively.
- Teacher: Gilbert Nahumunsi
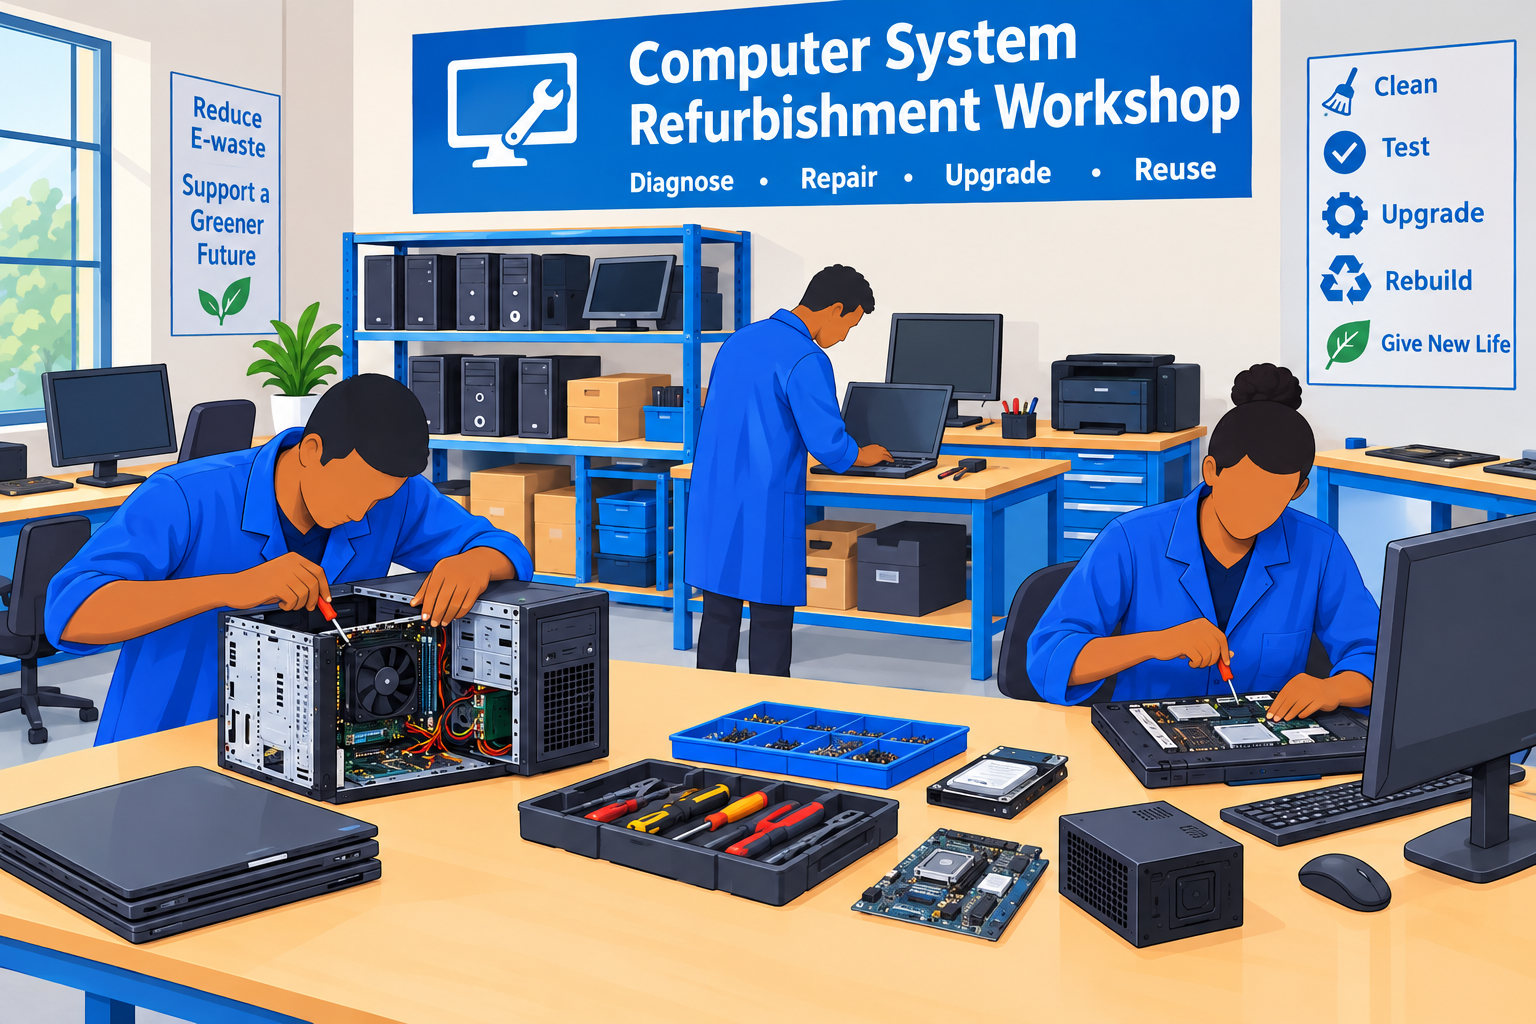
💻 Computer System Refurbishment
Computer System Refurbishment is the process of inspecting, cleaning, repairing, upgrading, testing, and restoring used or damaged computer systems so they can work efficiently again. It helps extend the life of computers, reduce electronic waste, and provide reliable systems at a lower cost.
- Teacher: Jean Baptiste Irankunda
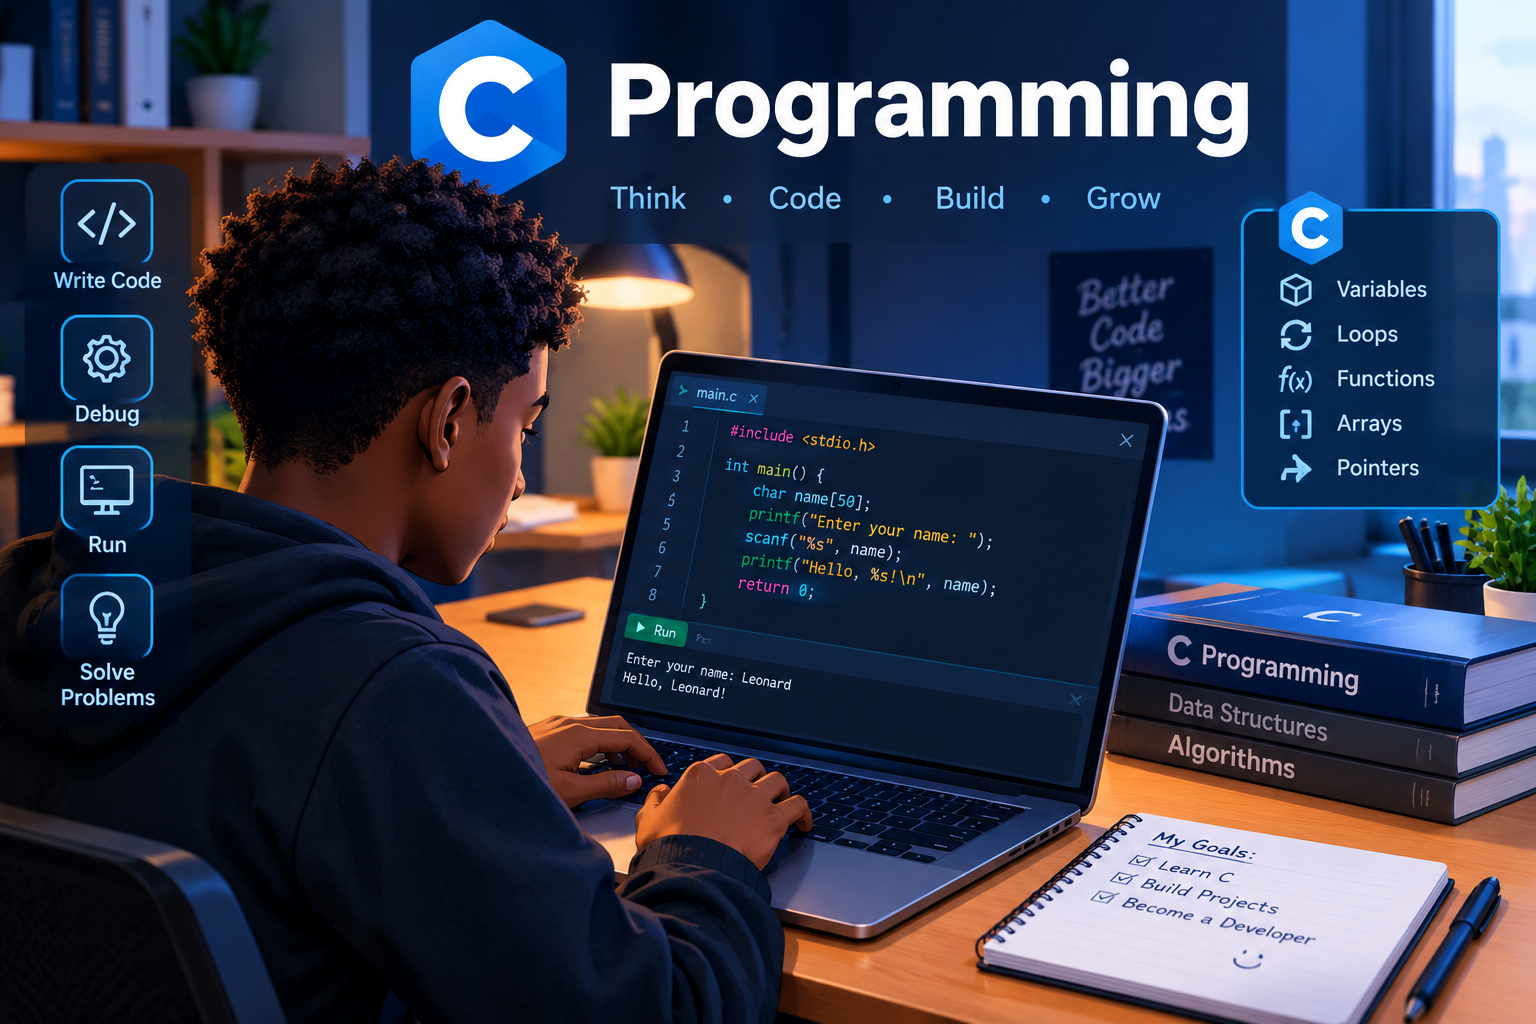
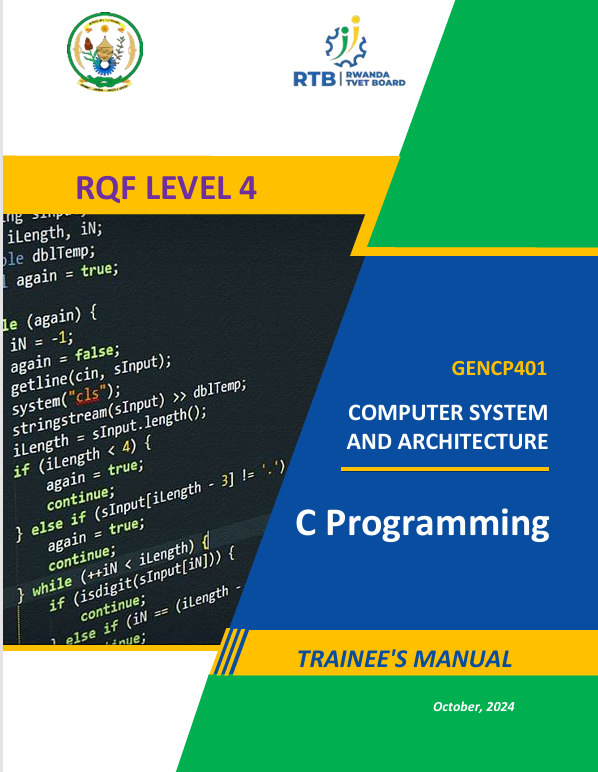
Apply C programming
Learn to think like a programmer: design a solution, write it in C, then test it until it works. Three learning outcomes take you from first idea to a program you can trust.
Learning outcomes
Select an outcome to see what you will learn and do.
Learning outcome 1: Apply computer programming languages
You learn how programs are planned and how a language turns your instructions into something a computer can run.
- What a program is, and how programming languages are classified
- Low-level, high-level, compiled and interpreted languages
- Planning a solution with algorithms, pseudocode and flowcharts
- Setting up a C environment: compiler, editor or IDE
- Compiling and running your first C program
Learning outcome 2: Write C programming codes
This is the core of the module. You write C programs that read input, make decisions, repeat tasks and organise data.
/* Example: decide with a condition, repeat with a loop */
int marks = 72;
if (marks >= 50) printf("Competent\n");

for (int i = 1; i <= 3; i++)
    printf("Attempt %d\n", i);
Learning outcome 3: Perform program testing
Working code is not enough. You learn to find mistakes, fix them and prove that your program behaves as expected.
- Syntax, runtime and logic errors, and how to recognise each
- Reading compiler messages and warnings
- Debugging by tracing, print statements and a debugger
- Designing test cases with expected and actual results
- Testing with normal, boundary and invalid inputs
- Documenting test results and improving the code
How you will learn
Explain how a C program goes from source code to a running program?
Yes, once you finish learning outcome 1: write, compile, link, run.
Write a C program that uses decisions, loops and functions?
Yes, once you finish learning outcome 2.
Find and fix errors, and prove your program works with test cases?
Yes, once you finish learning outcome 3.
- Teacher: Leonard Tuyisingize
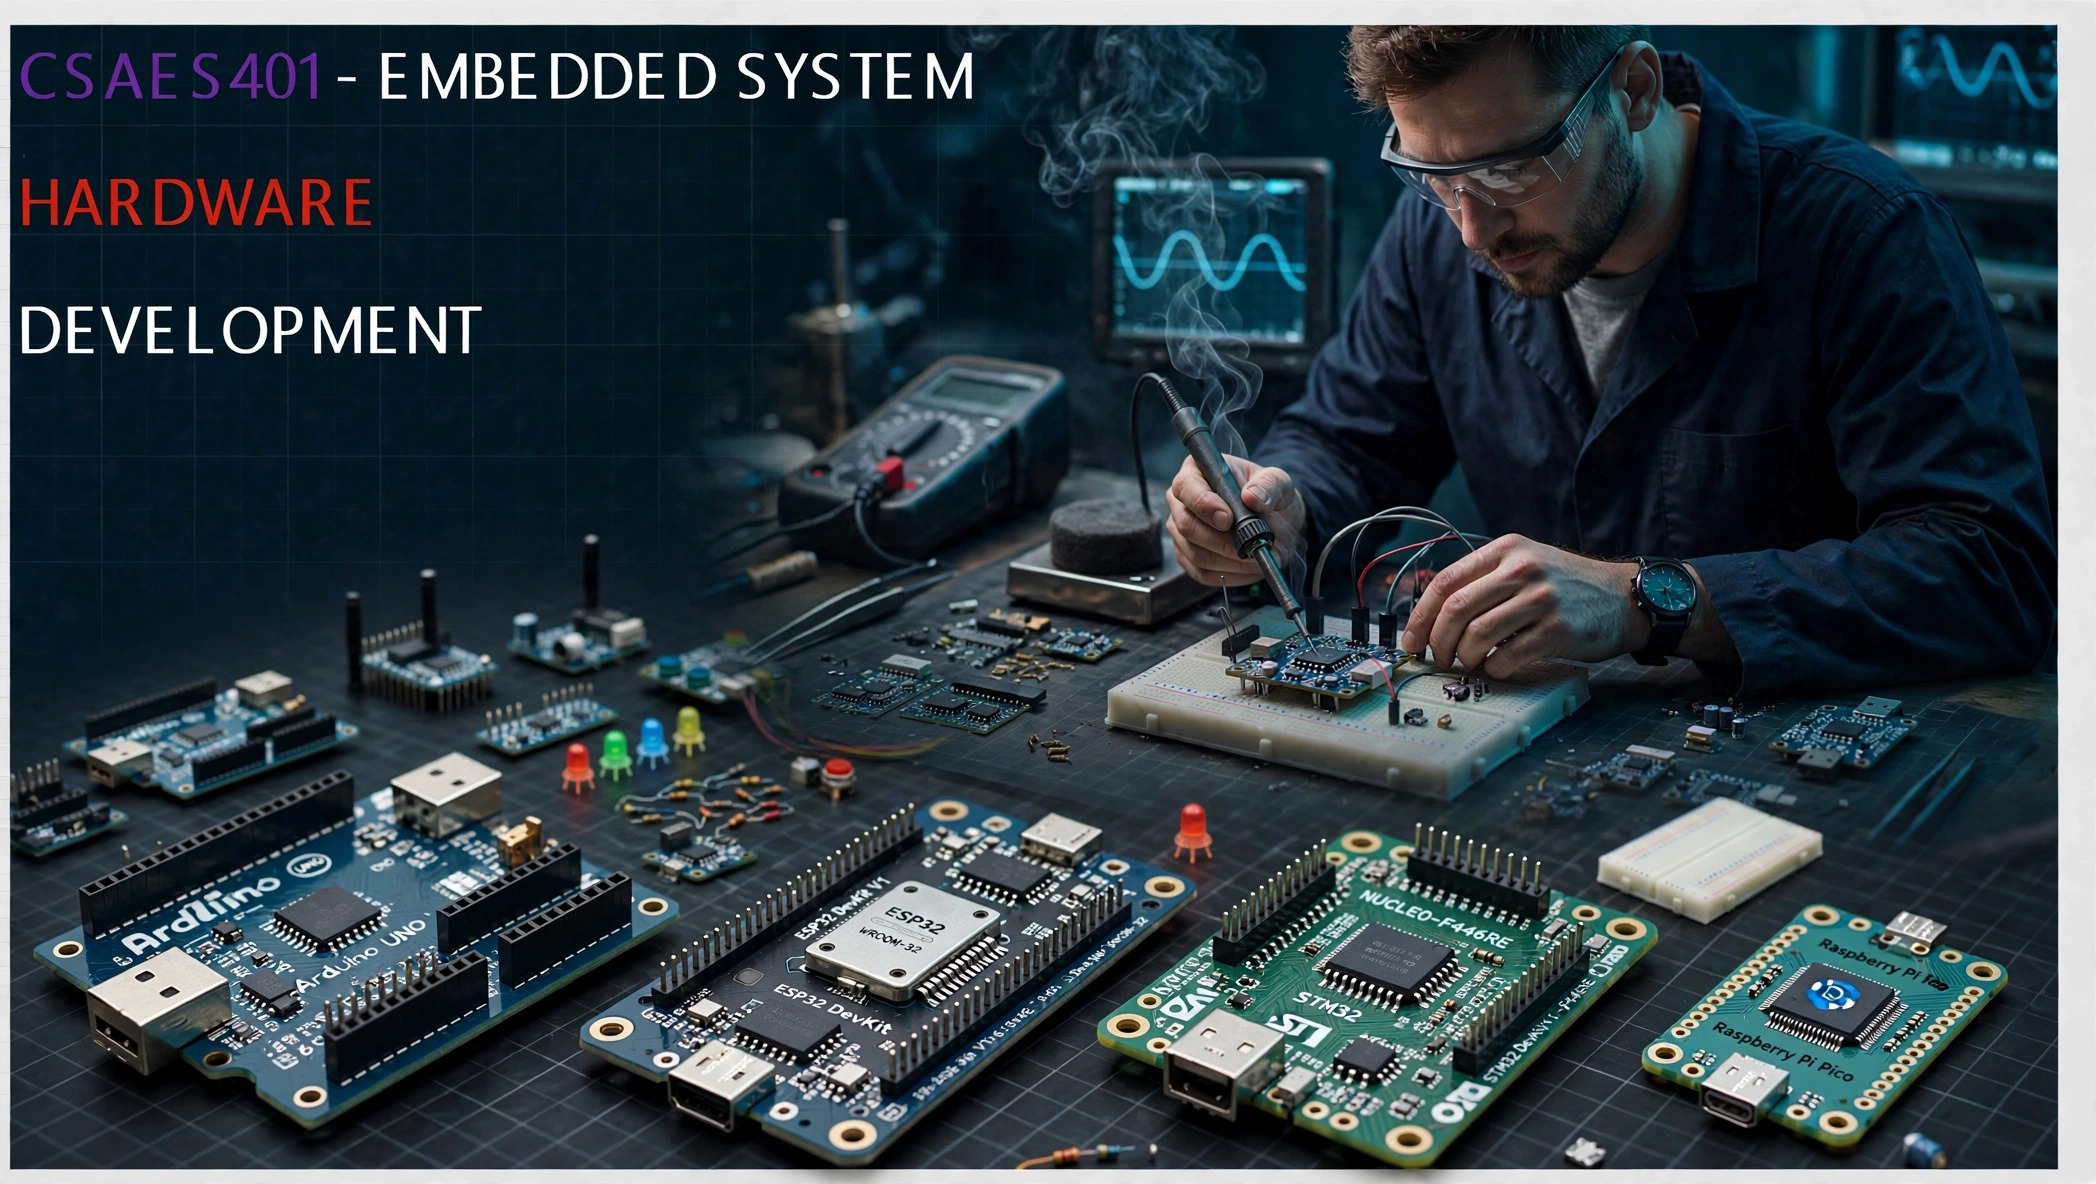
EMBEDDED SYSTEM HARDWARE DEVELOPMENT
From requirements and hardware construction to testing and system integration
📘 About This Module
This module provides learners with the knowledge, skills, and attitudes required to develop, build, test, troubleshoot, and integrate embedded system hardware used in modern electronic and computer-based systems.
The module combines theory with practical activities to help learners understand how embedded hardware is designed and implemented. Learners will work with microcontrollers, sensors, actuators, communication interfaces, power supply circuits, electronic components, and embedded-system development tools.
🎯 What You Will Develop
Workplace Preparation
Prepare a safe, clean, organized, and suitable workplace for embedded hardware development activities.
Requirements Identification
Identify application requirements, components, tools, equipment, and resources needed for an embedded system.
Hardware Construction
Assemble and construct embedded hardware using electronic components, microcontrollers, sensors, actuators, and interface circuits.
Testing & Troubleshooting
Test circuits, identify faults, troubleshoot hardware problems, and verify that the system operates according to specifications.
⚙️ Key Technologies & Practical Areas
🦺 Safety & Environmental Responsibility
Throughout the module, learners are expected to observe occupational health and safety (OHS) requirements, proper handling of electronic equipment, electrical safety, electrostatic discharge (ESD) protection, responsible use of tools, and environmentally responsible disposal of electronic waste.
Remember: A successful embedded-system technician does not only make a circuit work — they also work safely, systematically, and responsibly.
Your Practical Goal
By the end of this module, you should be able to move from an embedded-system requirement to a working hardware solution: identify → design → assemble → program → test → troubleshoot → integrate.
- Teacher: Gilbert Nahumunsi
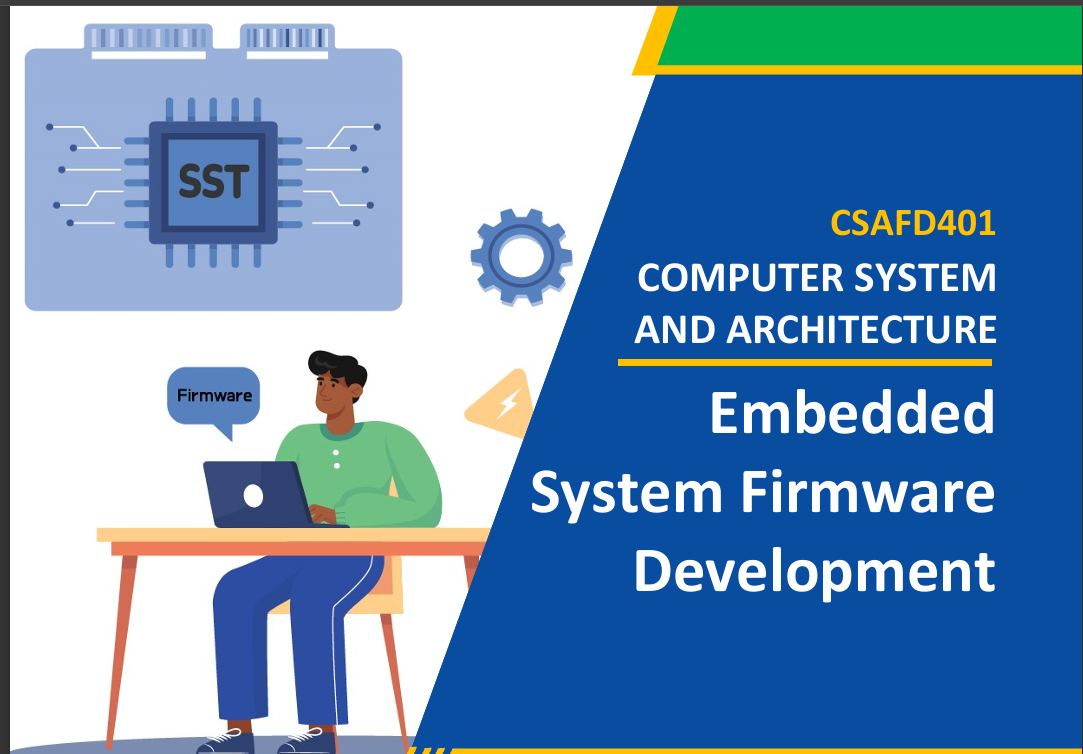
EMBEDDED SYSTEM FIRMWARE DEVELOPMENT
Module Learning Outcomes
Competency-Based Training and Assessment (CBT/A)
📘 Module Overview
This module provides the essential knowledge and practical skills required to understand computer systems and architecture, with a specific focus on Embedded System Firmware Development.
Through hands-on activities, practical exercises, and real-world projects, trainees will develop competencies in identifying firmware requirements, designing firmware architecture, implementing firmware, and deploying firmware on embedded hardware.
🎯 Learning Outcomes
By the end of this module, trainees will be able to achieve the following learning outcomes:
🛠️ Learning Activity
Task: Explore the Firmware Development Process
Work individually or in small groups to discuss the following questions:
- What is firmware, and why is it important in embedded systems?
- What information is needed before developing firmware?
- Why is firmware architecture important?
- Which tools can be used to implement and deploy firmware?
- Give one real-life example of a system that uses firmware.
Instructions: Discuss your answers, prepare a short presentation, and share your findings with the class.
✅ Module Summary
Embedded System Firmware Development follows four main stages:
These learning outcomes guide trainees from understanding system requirements to developing and deploying functional embedded firmware solutions.
Embedded System Firmware Development | Practical Learning | CBT/A
- Teacher: Jean Claude Tuyisenge

📘 This module describes the skills, knowledge, and attitudes required to apply C++ Programming Fundamentals. It is intended to prepare students pursuing TVET Level 4 in Computer Systems and Architecture.
- Teacher: Emmanuel Sibomana